
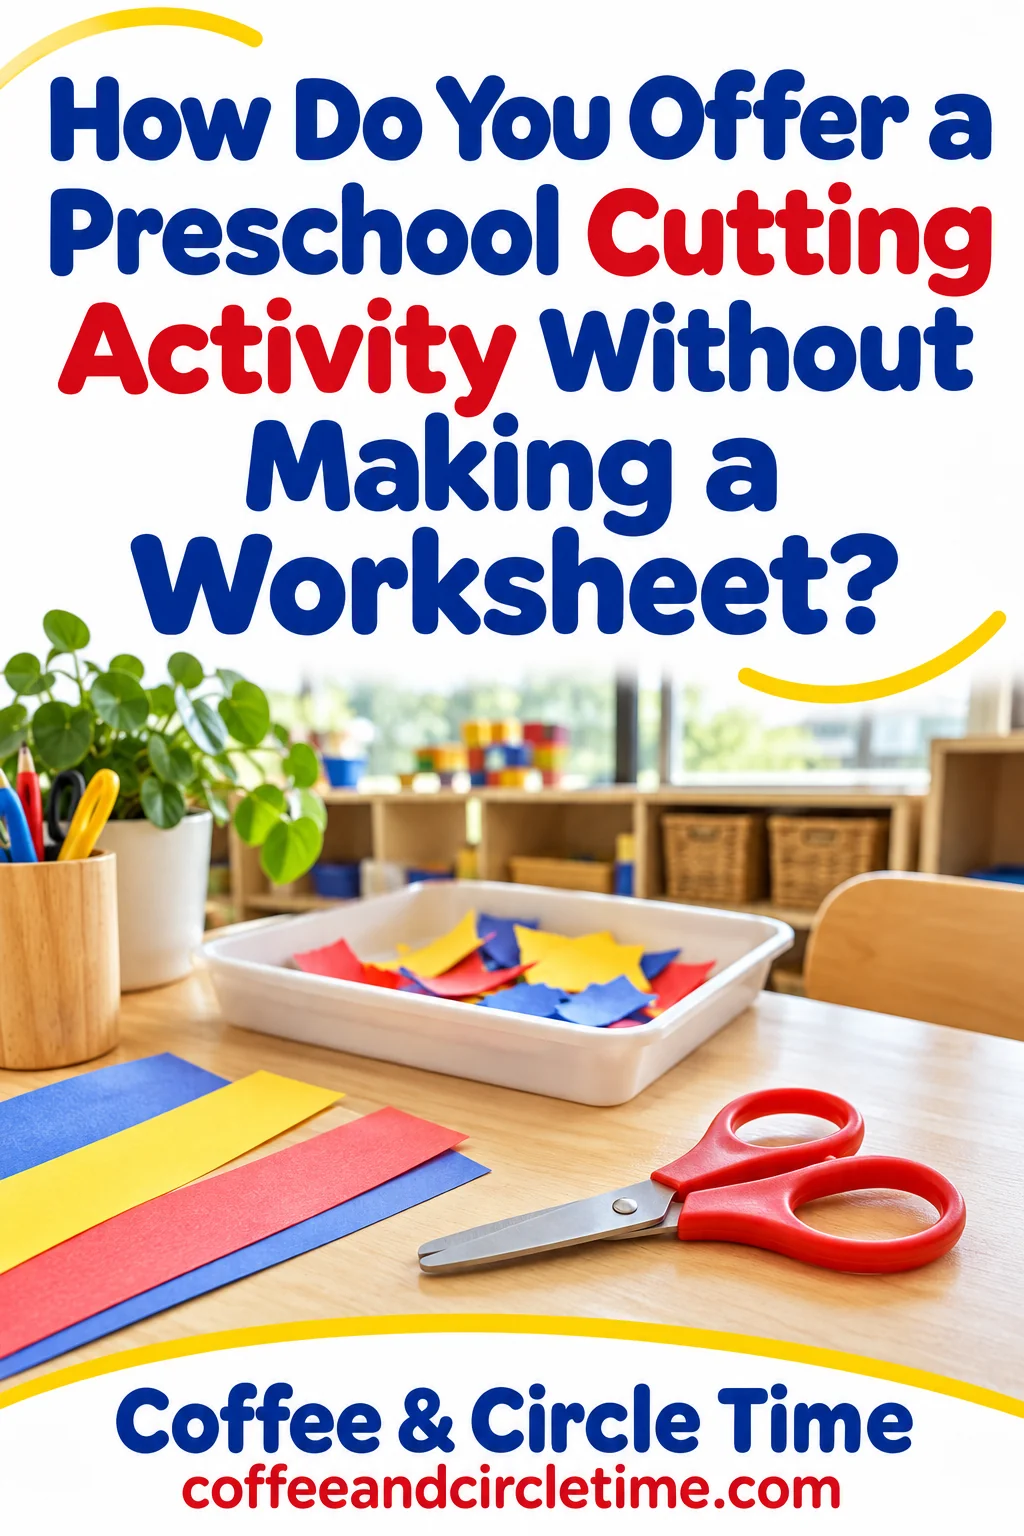
Offer age appropriate scissors with paper to explore, a clear demonstration and close supervision. Children can practice opening, closing and moving scissors through paper without following a printed line or completing a matching worksheet.
A useful cutting invitation gives children practice with the tool without requiring identical results.
Hi, I’m Ms. Jenn, a preschool teacher with 20 years of experience. I currently teach in a two year old classroom and share practical ideas from everyday teacher life here at Coffee and Circle Time.
Start with the action you want to practice
Decide whether the invitation is about holding scissors, making short snips or cutting farther into paper. Those are different starting points, and not every child needs the same task.
A plain piece of suitable paper can keep the focus on the tool. A detailed worksheet may add visual demands that are unrelated to the action you are introducing.
Keep the activity optional within the choices available in your program. A child can explore another fine motor material while waiting for a supported turn.
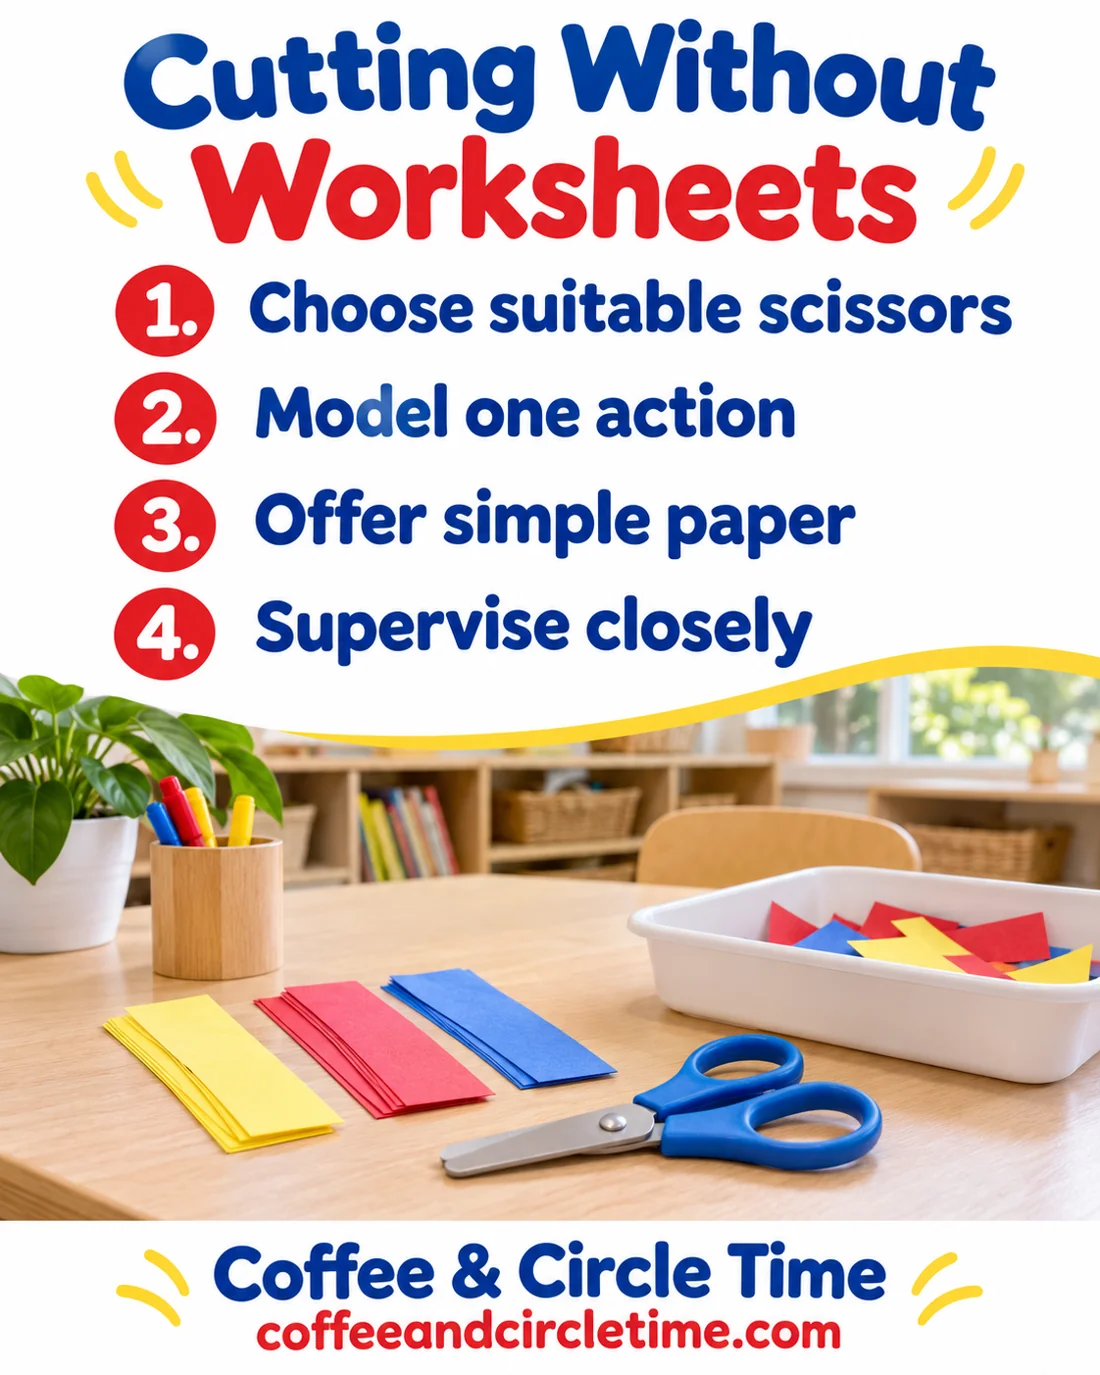
Prepare a small supervised space
Check your program’s rules for scissors, group size and supervision. Choose tools and paper suitable for the children present.
Arrange the table so you can see each child’s hands and provide help without reaching over another child. Keep unused tools in their designated adult managed location.
Set up the activity around the supervision you can provide, not the number of scissors you own.
Demonstrate on your own paper
Show how the tool opens and closes and how the paper stays clear of the cutting path. Use the same simple language each time.
Give one direction, pause and let the child try. A long list of reminders before any action can be hard to use.
If a child needs more support, demonstrate again or change the material. Avoid taking over the entire task simply to create a finished product.
Offer paper that gives a useful starting point
Try an appropriate strip of paper for short snips or a larger piece for children ready to move through more material. Adjust based on what you observe.
Paper that folds over constantly can make the tool harder to use. Test your supplies before offering them to the group.
Do not add string, packaging or unfamiliar objects just for variety. Use materials your setting has approved for this purpose.
Give the cut pieces a place
Provide a clear tray for pieces the children want to keep. They might later use appropriate pieces in a collage, but creating a second project is not required.
Explain where scraps go and how tools are returned when a child finishes. Keep cleanup instructions separate from the cutting demonstration.
Avoid judging the activity by how neat the scraps look. Notice the child’s handling of the material and their willingness to ask for help.
Build from what you see
A child making single snips may need more time with that action rather than a more complex shape. Another child may be ready to make their own plan.
Keep a brief note about which setup allowed participation. Use that information for the next invitation rather than comparing children’s pages.
If you have questions about a child’s access to classroom tools, use your school’s support process and share objective observations. A single session is not an assessment.
A useful cutting invitation gives children practice with the tool without requiring identical results.

Leave a Reply