
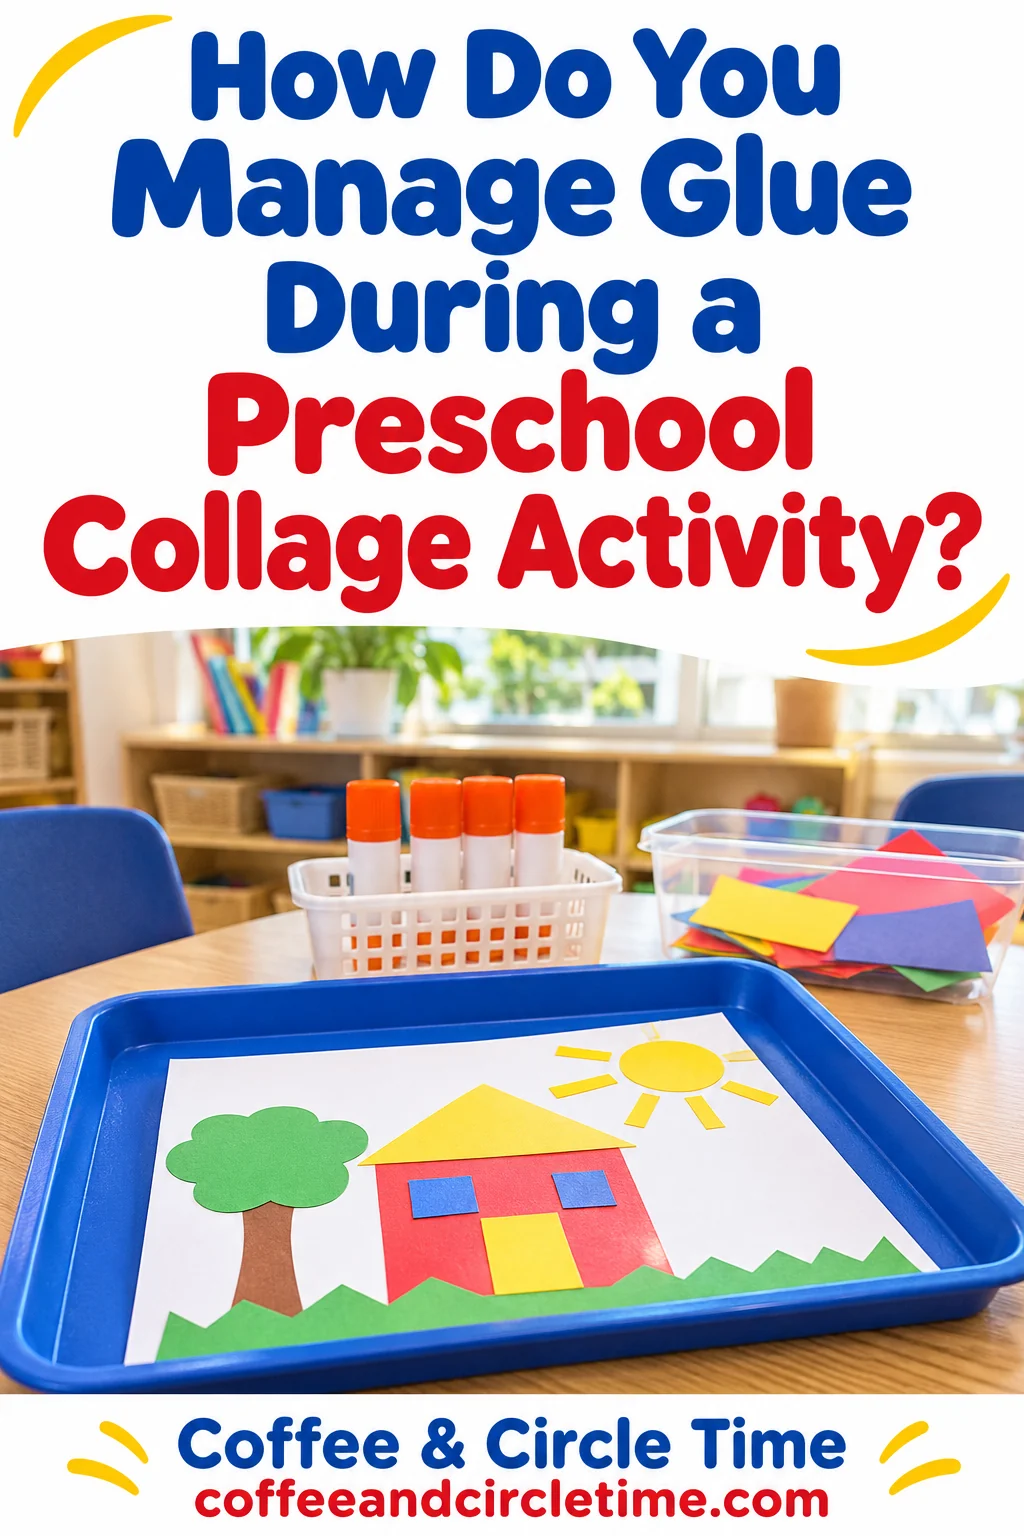
Set out a manageable amount of classroom approved glue, demonstrate one way to apply it and keep the attaching area separate from the paper choices. A predictable setup usually helps more than repeatedly telling children to use less.
Teach the glue routine clearly, then leave room for children to make their own collage choices.
Hi, I’m Ms. Jenn, a preschool teacher with 20 years of experience. I currently teach in a two year old classroom and share practical ideas from everyday teacher life here at Coffee and Circle Time.
Match the glue to the activity
Choose glue intended for the materials and age group, following the product directions and your program’s policies. A glue stick and liquid glue create different demands.
Test the paper beforehand. If the glue does not hold the material, children may keep adding more even when they are following your demonstration.
Use an activity that works with the supplies you already have. A collage should not depend on a special adhesive children cannot use with appropriate support.
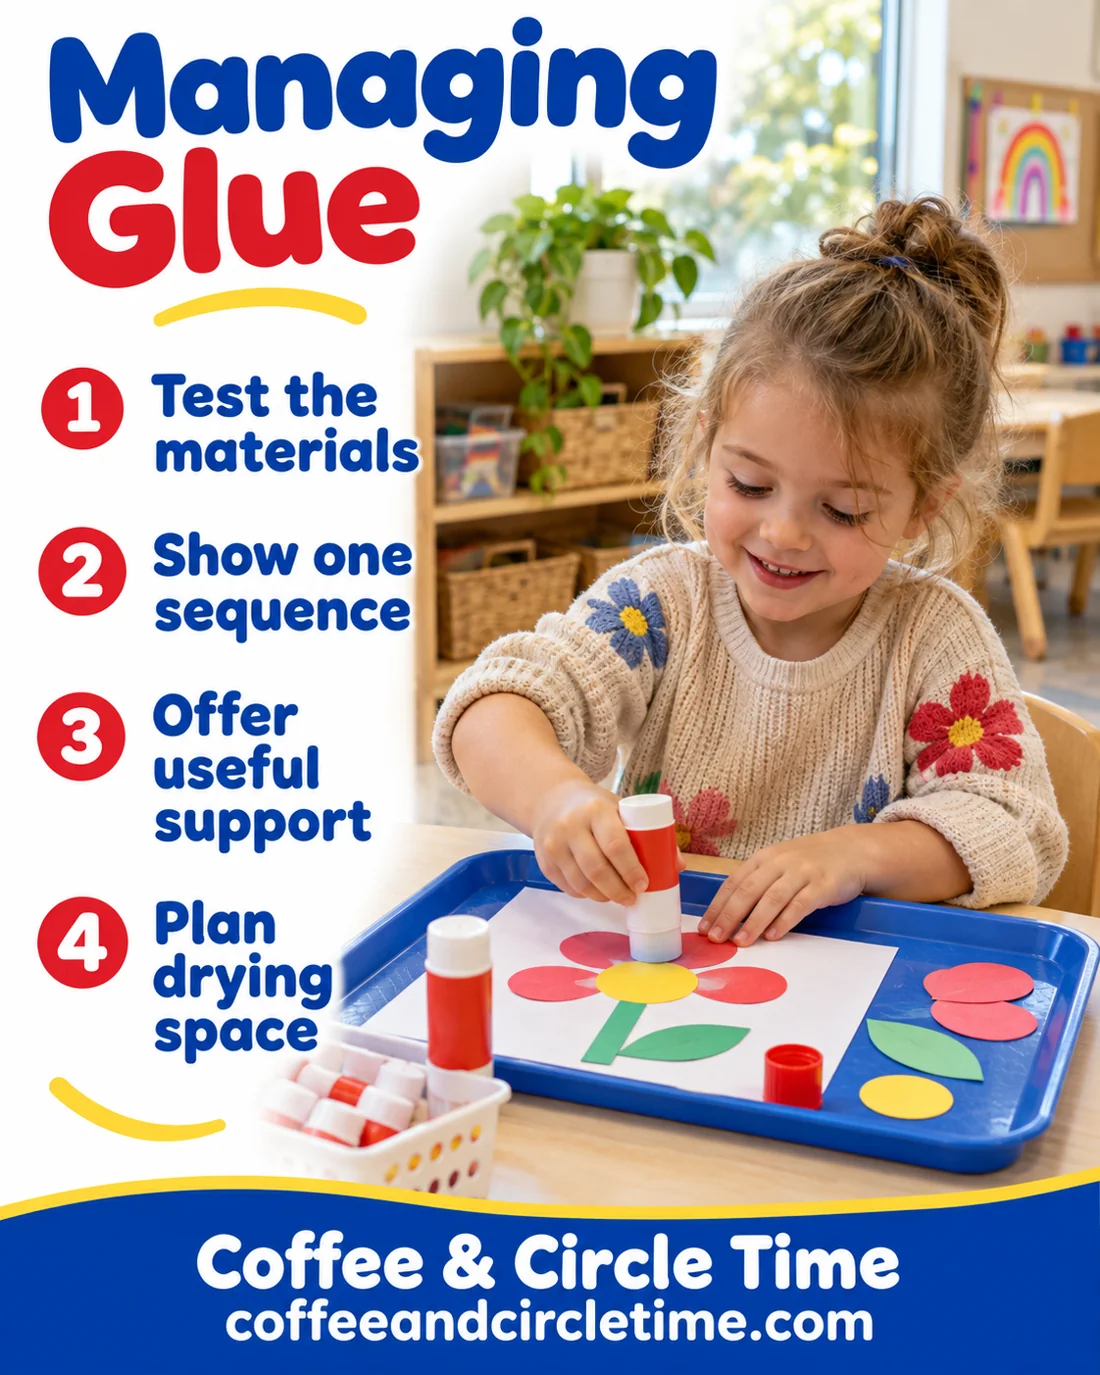
Keep the table easy to read
Give paper choices one area and the work surface another. A crowded mix of lids, bottles and loose pieces makes it harder to see what happens first.
Start with fewer supplies and replenish them. The number of materials visible does not have to equal the total amount you prepared.
A clear materials layout is part of the instruction, not just a way to keep the table tidy.
Show one small sequence
On a separate sample, choose a piece, apply glue as directed and attach it to the page. Pause between actions so children can see the order.
Use concrete words rather than telling everyone to be careful. “Put the lid on when you finish” describes an action children can practice.
Avoid making a perfect picture for them to copy. The demonstration should explain the tool while leaving the design open.
Help without redesigning the work
If a child asks for help, find out which step is difficult. Opening a lid, steadying paper and deciding where to place a piece are separate needs.
Offer the smallest useful support, then return the decision to the child. Ask before moving something they have already attached.
If glue becomes the main thing a child wants to explore, decide whether that exploration fits the invitation and supervision available. You can set a calm limit without criticizing the child.
Make drying and cleanup visible
Choose a drying area before the activity starts. Help children move wet work without stacking it against another page.
Follow your setting’s handwashing and surface cleaning routines. Children can help return suitable materials while adults handle tasks requiring closer care.
Keep product containers closed and stored according to directions when the activity ends. Do not leave the cleanup plan until the next group arrives.
Change the setup when the same problem repeats
If bottles are consistently difficult, review whether a different approved dispenser or glue format would work better. Ask your school about supplies rather than assuming you must buy replacements yourself.
If children cannot find their materials, simplify the tray. If everything slides, review the surface and paper size.
Choose one change for the next invitation and observe its effect. The goal is access to collage making, not a spotless table throughout the session.
Teach the glue routine clearly, then leave room for children to make their own collage choices.

Leave a Reply