
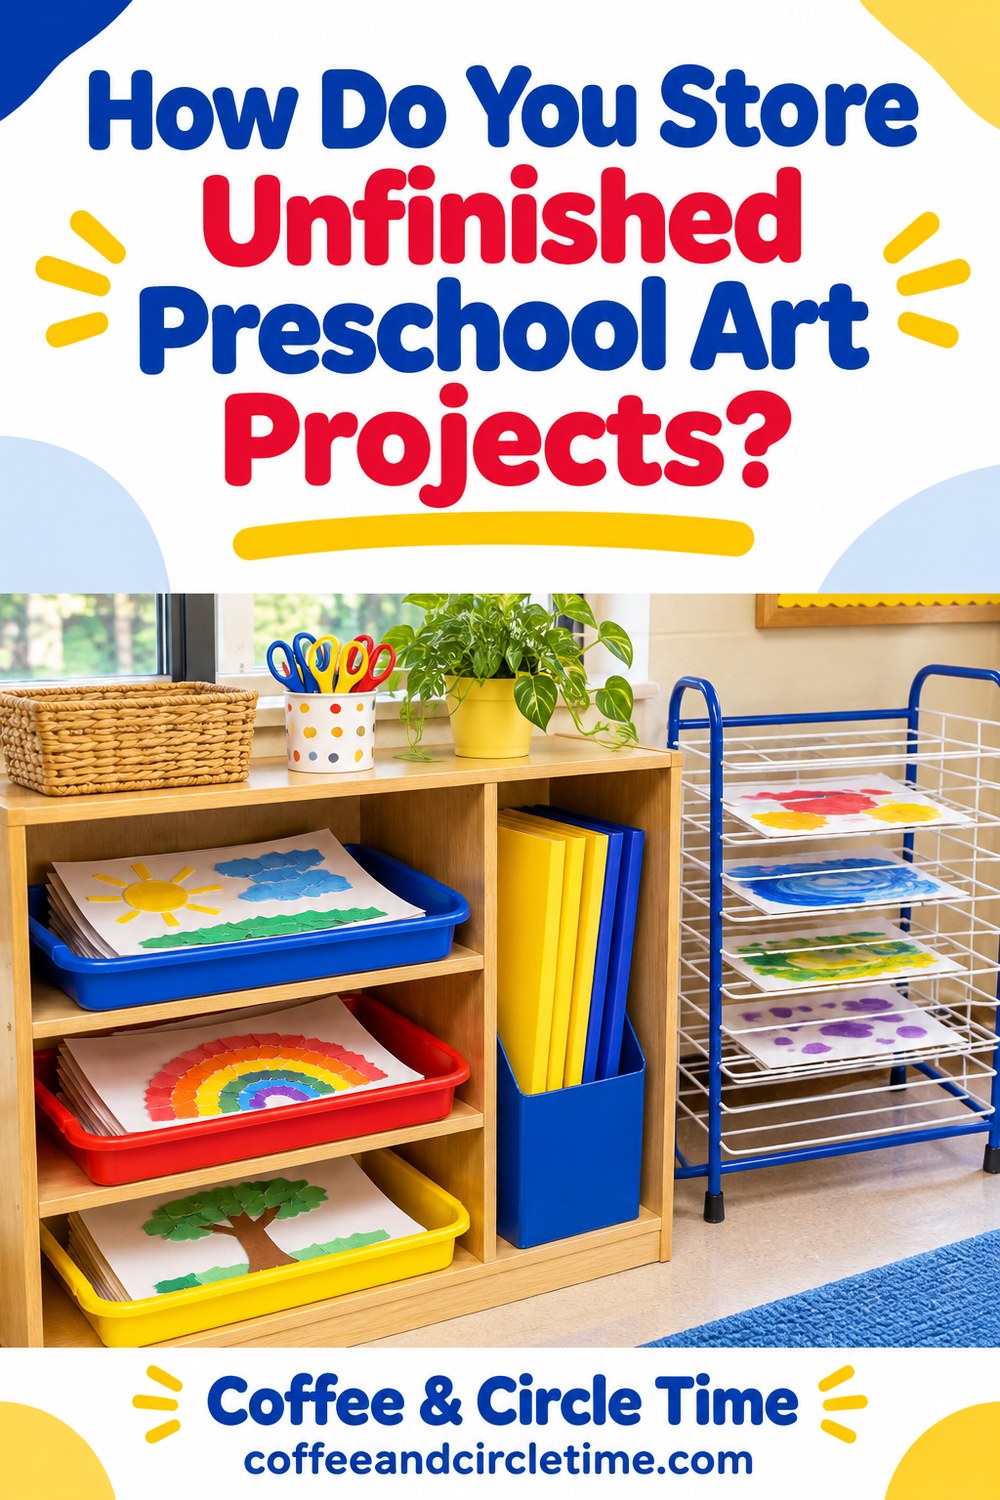
Store unfinished preschool art projects by giving each project a labeled place that protects the work and makes it easy to find again. Separate wet work from dry work, keep loose pieces together, and choose a storage method that fits the size and materials of the project.
A useful storage system helps children return to their own ideas without asking a teacher to rebuild the entire activity. It also keeps tomorrow’s table from becoming today’s overflow shelf.
Hi, I’m Ms. Jenn, a preschool teacher with 20 years of experience. I currently teach in a two year old classroom and share practical ideas from everyday teacher life here at Coffee and Circle Time.
You can usually begin with classroom trays, folders, shallow boxes, and existing shelves. Before adding supplies, decide which projects need saving and when children will have a chance to continue them.
Decide whether the project is actually unfinished
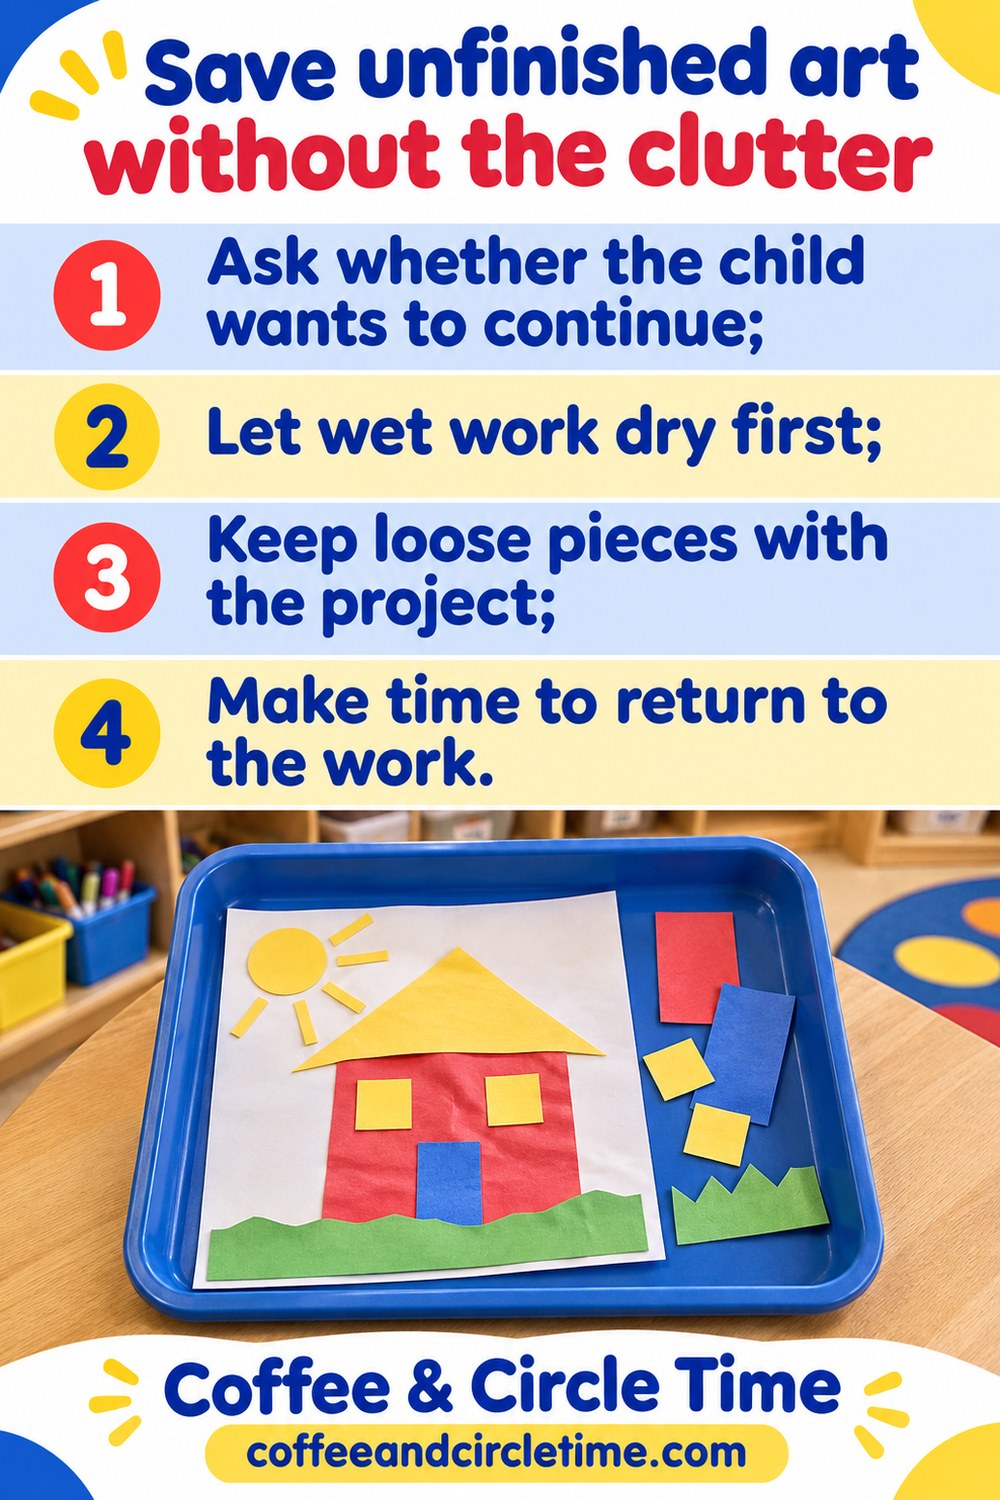
A picture can look unfinished to an adult and feel complete to the child who made it. Ask the child whether they want to work on it again before putting it into a return pile.
Use a simple question such as, “Are you finished, or would you like to save this for another time?” Give the child time to look at the work and decide.
Do not save a project simply because it does not match a sample. Open ended art can end when the child feels ready to stop, even if plenty of blank paper remains.
When a child does want to continue, tell them where the work will go. Knowing that the project has a place can make leaving the art table easier.
Give wet work time and space to dry
Wet paint and glue need an appropriate drying area before a project moves into a folder or a stacked storage tray. Check the materials and avoid placing wet pieces directly on top of one another.
Use the classroom’s existing drying rack or another suitable supervised area. Make sure projects do not cover important labels, crowd exits, or take over surfaces needed for daily routines.
Label the work before it becomes difficult to handle. For a large or delicate piece, a labeled supporting tray may be easier to manage than writing on the artwork itself.
When the piece is dry enough to move, transfer it into the child’s unfinished work space. A drying rack is less likely to fill permanently when drying and longer storage are treated as separate steps.
Use folders for flat and dry projects
Large folders can work well for drawings, collages that are completely dry, and paper projects that do not have bulky attachments. Choose a size that protects the work without requiring folds through the picture.
Give each folder a clear label that your teaching team can understand quickly. A child’s name and familiar identifying picture may help children find their own space when appropriate.
Keep folders upright in a suitable container or flat in a shallow tray. Use the arrangement that lets children retrieve work without bending everything around it.
Check folders regularly with the children. A folder should hold work they intend to revisit rather than every loose piece of paper they have touched all month.
Use trays for projects with loose pieces
A shallow tray can hold a dry project alongside the pieces the child plans to add. Keep the amount manageable so the tray can travel to a table without spilling over the edges.
Put the child’s name on the tray or on a label that stays with it. If the classroom already uses assigned trays for another purpose, avoid creating a confusing second system with identical labels.
Choose containers appropriate for the children’s ages and classroom rules. Small materials still need the usual supervision and safe storage, even when they belong to an unfinished project.
Keeping the project and its parts together saves more time than a perfectly decorated storage label. The goal is to let the child recognize their work and resume it with reasonable help.
Support bulky pieces from underneath
A box lid or sturdy base can help hold a construction or sculpture that cannot fit in a folder. Choose something large enough to support the piece without requiring an adult to balance it on fingertips.
Keep the base with the project when moving it to storage. Repeatedly lifting a fragile creation by its attachments can make every transition a repair session.
Place heavier or larger work where it can be retrieved safely under the classroom’s usual procedures. Avoid putting something awkward high overhead just because that shelf happens to be empty.
Tell children what can reasonably be saved. A large structure may need a designated building space, a photograph taken through approved procedures, or a plan for rebuilding rather than being squeezed into an art cubby.
Add a simple reminder of the next step
Sometimes a child knows exactly what they want to do next but may forget after lunch or over a weekend. Offer to record a brief reminder in their words.
A note might say, “Add the blue roof,” or, “Find paper for the windows.” Keep it attached to the storage tray rather than covering the artwork itself.
You can also invite the child to make a small drawing of their plan. This remains an invitation, rather than an extra worksheet required before their work can be saved.
Read the reminder together when the child returns. It can start the conversation without telling them they must follow yesterday’s idea if they now want to change it.
Make returning to projects part of the schedule
A storage system only works if children have a realistic opportunity to use what is inside it. Offer unfinished work during an appropriate art period or classroom choice time.
Show children where to get their projects and what help they should request. Keep the routine short enough that it does not require a full class explanation every morning.
Set out the materials needed for the next step when possible. A saved collage is hard to continue if glue and paper scraps never become available again.
Coordinate with the other teacher so that both adults know which work is waiting. This helps prevent a well meant cleanup from clearing projects that children expected to revisit.
Set a practical space limit
Choose how much unfinished work the room can reasonably hold. The limit might be a folder and one tray per child, depending on the projects and storage already available.
Explain the boundary kindly and concretely. “This is the space we have for your work; let’s see what you still want to finish” gives the child a clear decision to make.
Review the collection together when it becomes full. A child may decide one piece is finished, another can go home, and a third is the one they care about continuing.
Do not quietly discard meaningful work simply to make the shelves look neater. Follow classroom procedures and involve children in decisions about their own creations whenever possible.
Plan for pieces that need adult repair
Separate a project awaiting a child’s next idea from a project that needs help because something broke. These situations can need different materials and different kinds of support.
Ask what the child wants to happen before repairing a piece. They might want to reattach a part, change the design, or move on to a different idea.
Keep any adult only tools or adhesives stored according to program rules. A repair label should not make restricted supplies available in an ordinary children’s project tray.
If a piece cannot reasonably be repaired or stored, acknowledge the disappointment and explain the options. Avoid promising that every creation can stay intact indefinitely.
Reset the system with the children
Choose a regular time to look through unfinished work so it does not become invisible classroom clutter. Keep the conversation brief and focused on what children still want to do.
Notice what is causing trouble in the system. If folders bend collages, those projects may belong in trays; if trays collect unidentified pieces, the labeling routine may need attention.
Change the setup in response to those actual problems. You may need fewer saved projects or a clearer return routine rather than more containers.
The best place for unfinished preschool art is a place children can understand and teachers can maintain. Protect the materials, keep the pieces together, and make time to return to them.
When storage supports the creative process, saving a project becomes part of the classroom routine. It gives children a practical way to keep thinking, changing, and building on work that matters to them.

Leave a Reply