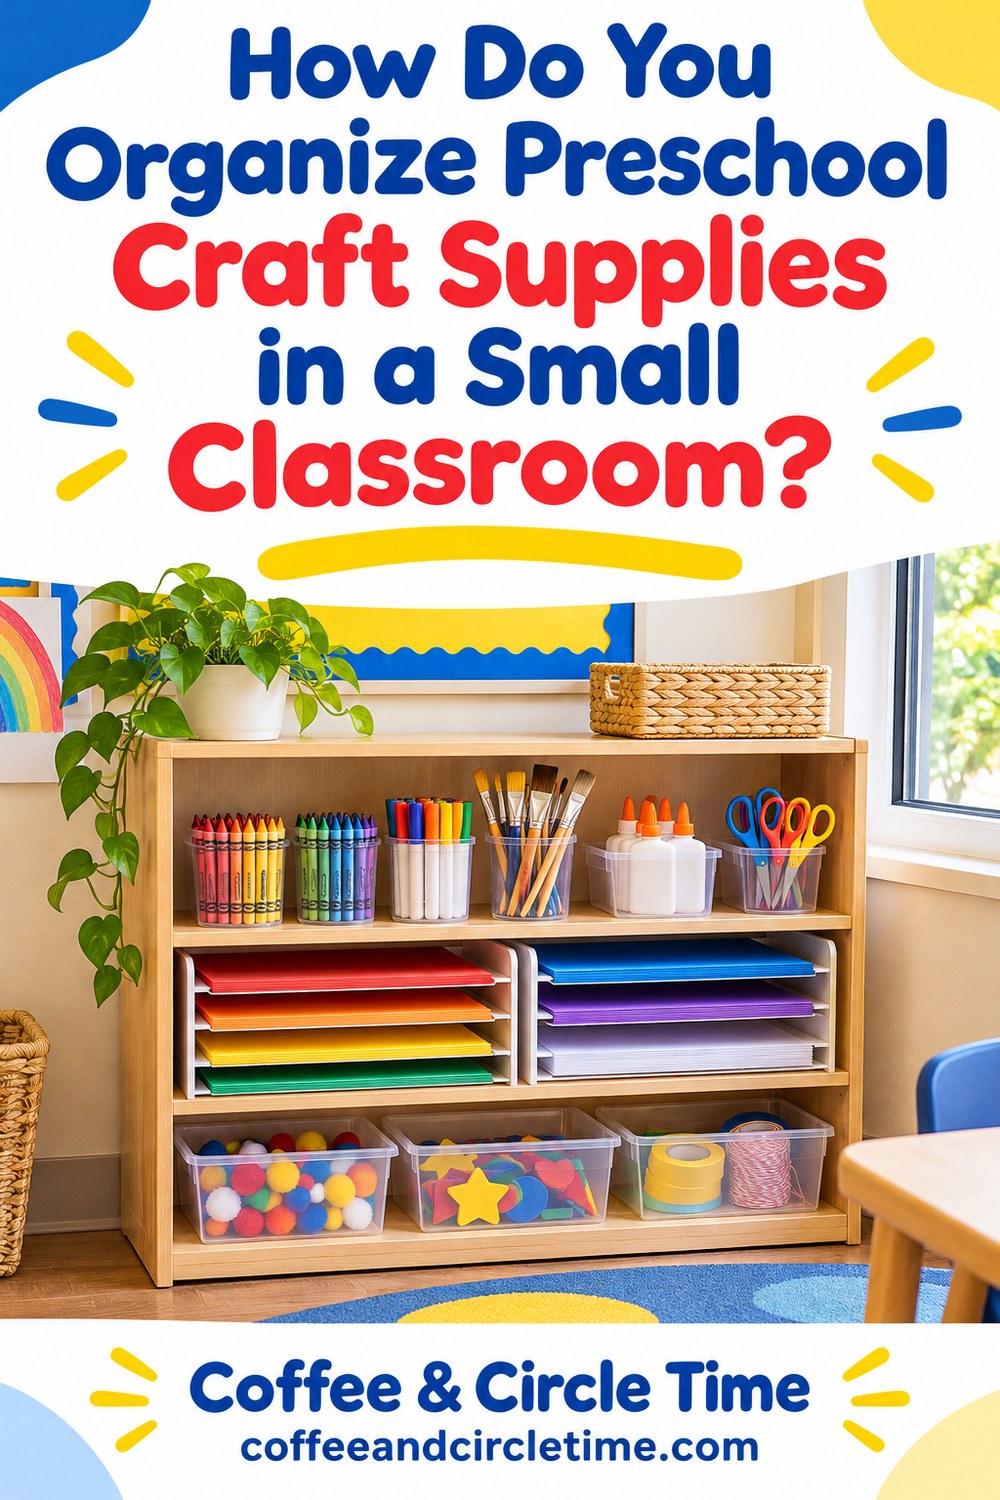
Organize preschool craft supplies by keeping everyday materials near the place they are used, separating adult supplies from children’s choices, and moving occasional materials out of the busiest work areas. Start with the storage you already have and give each useful group of supplies a clear home.
A small classroom needs supplies that are easy to find and return, not a container for every possible category.
Hi, I’m Ms. Jenn, a preschool teacher with 20 years of experience. I currently teach in a two year old classroom and share practical ideas from everyday teacher life here at Coffee and Circle Time.
A shelf can look tidy while still making daily preparation difficult. If you regularly search several places for paper, crayons, and glue, the arrangement may need a simpler sequence.
Begin with one routine you want to make easier. Preparing a table activity or cleaning up after art gives you a practical way to decide where supplies belong.
Sort by how the materials are actually used
Choose a manageable section of storage and identify what is there. You might begin with one shelf, one drawer, or the containers used for daily art.
Group supplies by the work they support. Drawing paper and crayons may belong together, while adult cutting tools and display materials may need a different storage area.
Do not assume every kind of paper needs its own container. Start with categories the teachers and children using the room can recognize.
Separate usable supplies from broken, dried out, damaged, or unsuitable items. Follow the program’s procedures for disposal, recycling, or returning materials to shared storage.
If you are unsure whether an item belongs to another classroom or program collection, check before relocating it. Shared supplies need a home other people can find too.
The category should tell you where to look when you need the material.
Keep everyday supplies closest to everyday work
Identify the supplies used most often during a normal week. Those materials deserve the easiest appropriate access.
For a drawing area, that might mean a small supply of paper and crayons near the table. The classroom does not necessarily need the entire paper collection beside the children.
For teacher preparation, place the frequently used items where adults can gather them without crossing the room repeatedly. Keep the arrangement compatible with supervision and classroom traffic.
Occasional materials can live farther from the work area if they remain easy to identify. You should not have to move five daily containers to reach something you only use for seasonal displays.
Think about the return trip as well as taking items out. A supply is more likely to go back where it belongs when returning it is straightforward.
If several adults share the room, walk through one preparation task together. Notice where each person naturally looks and whether the labels provide enough information.
Separate child access from adult storage
Decide which materials children may choose independently and which require adult distribution or assistance. Use your program’s guidance and the needs of the children in the room.
Open choice materials should be suitable for that use. Placing something on a low shelf does not make it appropriate for every child to handle without support.
Keep adult tools, unsuitable small items, and any supplies with specific storage requirements in their designated secure locations. Avoid mixing them into a general craft container.
A clear distinction also makes directions easier. Children can learn which supplies they may collect and which ones they need to request.
Check that storage does not block pathways or create areas adults cannot easily observe. Supplies should support the room’s use without making the layout harder to supervise.
For a broader view of room arrangement and observation, see Head Start’s active supervision guidance. Use the resource alongside your own program’s procedures.
Use labels that help the people returning the items
A label is useful when it answers a real question. “Drawing paper” may work better than a broad label such as “creative resources.”
For children’s storage, a simple picture paired with a word can help show where something belongs. Choose an image that resembles the actual item rather than a decorative symbol.
For adult storage, include distinctions people regularly confuse. “Full sheets” and “paper scraps” may save more searching than separating every color into another container.
Place the label where it remains visible when the shelf is in use. A small label hidden under a handle will not help someone cleaning up quickly.
You can test a label by asking another adult where they would return an item. If the answer is unclear, revise the wording before making more labels.
Good labels explain the system without requiring one person to remember every location.
Keep a small working supply and a clear refill location
You may not need every glue stick or paper pack in the daily activity area. Keep an appropriate working amount nearby and identify where additional supplies are stored.
The working amount should fit actual use. Too little can create repeated interruptions, while too much can fill the table or shelf unnecessarily.
Choose who checks the supply and when. A quick look during preparation or closing may be easier than discovering an empty container after children sit down.
If the room uses shared storage, follow the normal request or refill process. Avoid creating a private reserve that leaves other staff unsure what is available.
You can place a simple note in the teacher preparation area for items that need replacing. Keep purchasing or ordering decisions within the program’s usual system.
The goal is to know what is ready and what needs attention. It does not require a detailed inventory of every crayon.
Give leftovers a useful limit
Paper scraps and leftover materials can be useful, but a collection can quickly become difficult to search. Decide what you can reasonably store and use.
Choose a container or shelf space as the limit for a particular kind of leftover. When it becomes crowded, review the contents before adding another box.
Keep materials that are suitable, clean, and likely to be used. Follow any hygiene or storage requirements that apply to the item.
Avoid saving something only because a future craft might need it someday. Ask whether it has a realistic use in your classroom and a place that does not crowd daily supplies.
You can also plan an open ended activity around materials already available. That may make better use of a collection than waiting for an exact project.
Leftovers earn their space when you can find them and use them appropriately.
Prepare one activity without moving the whole shelf
For a planned craft, gather the required materials into a tray or another container already available in the classroom. Keep the setup proportionate to the activity.
The tray can help you see what is missing before the group begins. It can also make returning unused materials easier afterward.
Do not treat a preparation tray as permanent storage for everything connected to a theme. Return reusable materials to their usual homes so the next teacher can find them.
If you prepare several activities ahead, label them by day or purpose in a way the team understands. Keep enough information visible to avoid opening every container.
Consider where the prepared materials will wait without obstructing children’s areas or adult access. A useful setup should not make the room harder to use between activities.
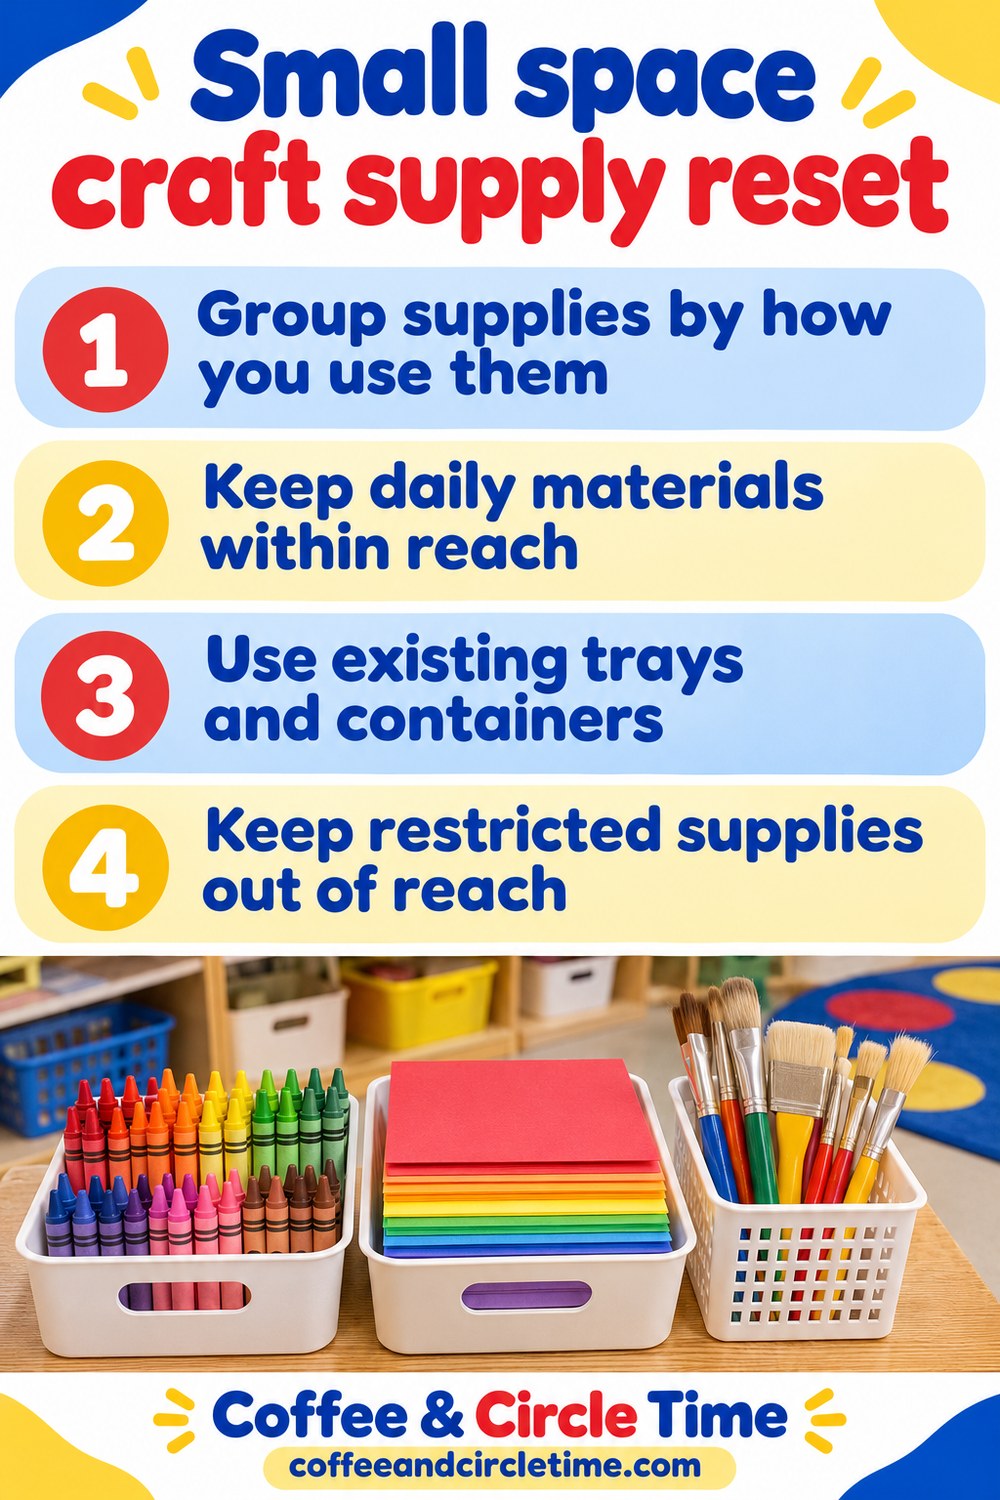
Reset one area before expanding the system
Choose one daily supply group and test the new location for a week. Notice whether people can find it, use it, and return it without extra explanation.
If the same item repeatedly lands elsewhere, investigate why. Its assigned place may be inconvenient, crowded, or unclear.
Make a small adjustment before adding more categories and containers. A simpler location may solve the problem better than another label.
Include other staff in the review. A storage system has to work during busy preparation and cleanup, not only when the person who arranged it is present.
An organized craft area is one your team can keep using on an ordinary classroom day.
Start with the most frequently used materials and one clear return routine. Let the space you have and the activities you actually offer guide the next change.

Leave a Reply