
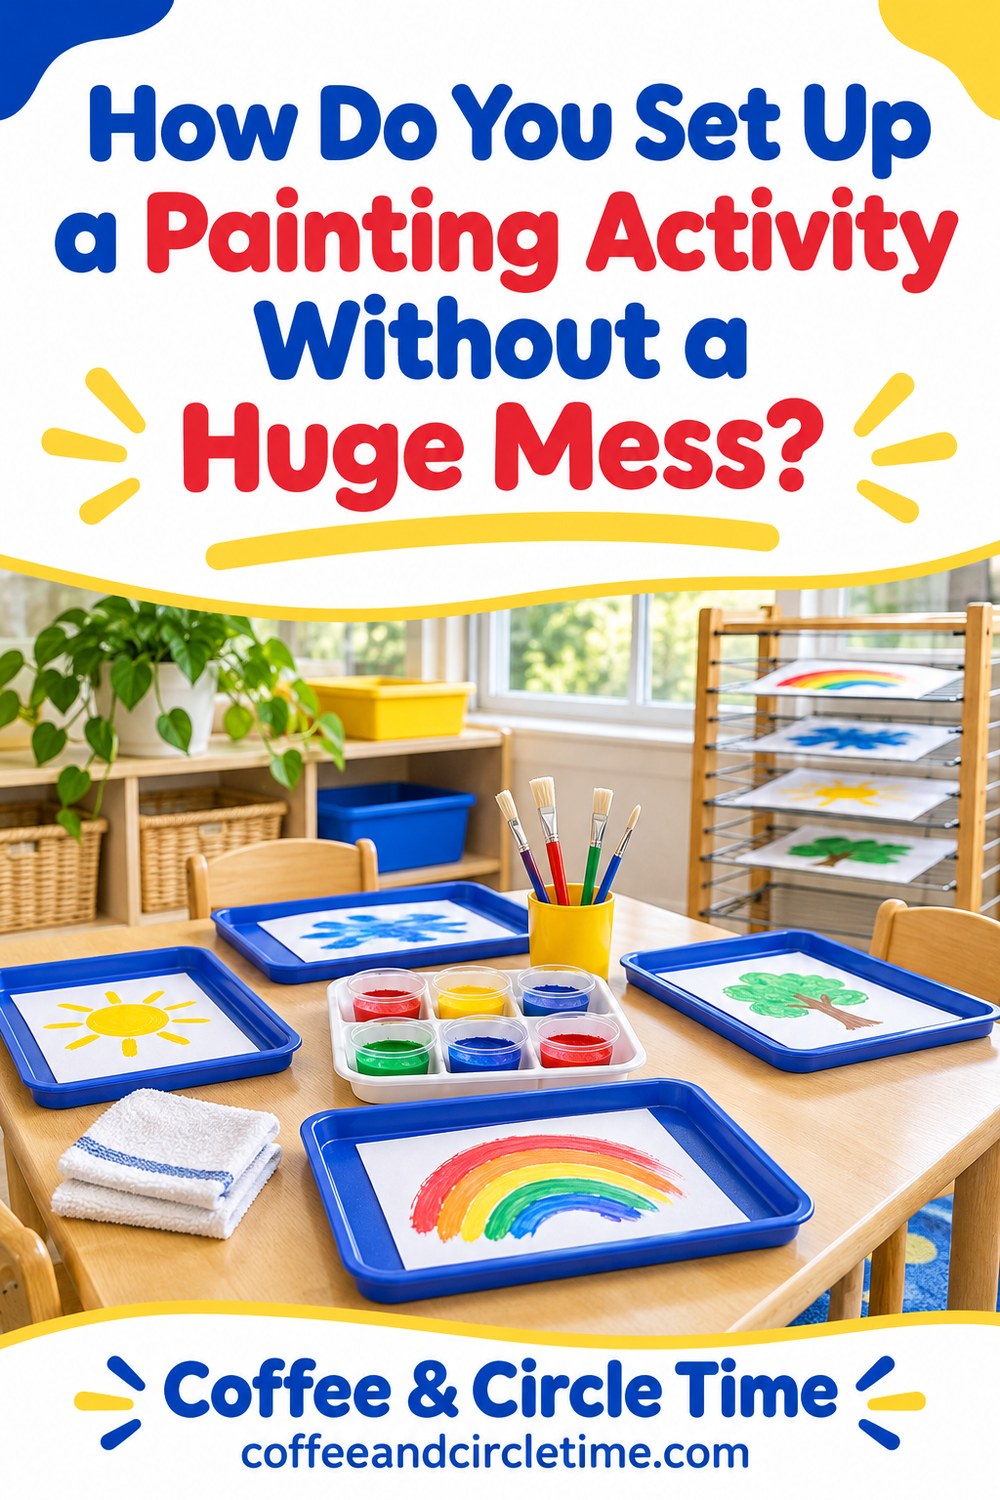
A preschool painting activity is easier to manage when you prepare the space, limit the materials on the table, and decide how children will finish before anyone starts painting. You can leave room for creative choices while giving paint, wet paper, and dirty brushes a clear place to go.
The most useful painting setup makes the next step obvious to both the children and the adults. A child should be able to see where to paint, where the finished work belongs, and what to do with a messy brush.
Hi, I’m Ms. Jenn, a preschool teacher with 20 years of experience. I currently teach in a two year old classroom and share practical ideas from everyday teacher life here at Coffee and Circle Time.
You do not need a perfect art area or a cart full of special supplies. Start with what your classroom already has and adjust the activity to the space, staffing, and cleanup time available.
Choose the painting space first
Look at the path children will take between the table, the drying area, and the handwashing sink. If those paths cross the busiest block area, another table may make the whole activity easier.
Keep the painting space within the classroom’s normal supervision plan. An art table that is convenient for cleanup still needs to let teachers see and support the children using it.
Decide how many children can comfortably paint at once. Four places with enough elbow room can work better than six crowded places where every reach tips a paint cup.
Leave a clear edge of table for paper to rest while an adult helps move it. Crowding every inch with materials makes small spills harder to contain.
Put out less paint to begin with
Offer a small amount of paint in sturdy containers rather than filling each container to the top. You can add more if children need it.
Start with a manageable selection of colors for the particular activity. Two colors can still give children plenty to explore, especially when they can notice what happens as colors meet.
You do not have to keep every color separate throughout the experience. Decide whether the purpose is exploring paint, practicing a technique, or making choices with a particular palette before you start correcting the mixing.
A limited amount of paint is a setup choice, while the child’s marks and color choices can still belong to the child. This keeps classroom management from turning into instructions about what every picture must look like.
Give every painter a clear workspace
A tray, washable mat, or sheet of protective paper can help show where each child’s workspace begins and ends. Use surfaces that sit flat and will not slide around as children work.
Put the child’s painting paper inside that space before the activity begins. If paper slides easily, use a suitable classroom method to hold it in place without creating a difficult removal job later.
Keep the paint close enough that children can reach without stretching across someone else’s work. Put shared supplies where teachers can see whether the arrangement actually works.
For a child who needs a different position or more room, change the setup. The same creative experience does not have to look identical at every seat.
Prepare clothing protection before paint arrives
Follow your program’s usual approach to painting clothes and protective smocks. Keep the smocks where an adult can help children put them on before they touch the materials.
Check that sleeves and fasteners will not interfere with a child’s movement. An uncomfortable smock can become the main distraction during an otherwise inviting activity.
Keep expectations practical. Clothing protection can reduce mess, but it does not guarantee that paint will stay away from every sleeve or collar.
Tell families about painting according to your classroom’s normal communication routine. Avoid presenting a child’s ordinary art exploration as misbehavior because a washable mark reached their clothing.
Show the routine with a short demonstration
Demonstrate how to dip the brush, make a mark, and return the brush to its place. Keep the demonstration short enough that children still have time and interest for their own experimenting.
Use clear words such as, “The brush stays over the paper,” or, “This cup is for the red paint.” Give children something concrete to try rather than a long warning about being careful.
You can model how to ask for more paint or a new piece of paper. These small requests often interrupt an activity when nobody has explained what children should do.
If a child paints on the table, calmly redirect and show the available surface. Respond to what happened instead of repeating a rule to the entire group every time one child needs help.
Plan for brushes that are temporarily finished
Choose a place for used brushes before children start working. A designated tray or container is easier to manage than a growing collection of brushes balanced on table edges.
Only use water cups during the activity if they serve a purpose and fit the group’s needs. Adding water to every place can create an extra spill opportunity without helping the painting experience.
If children are learning to rinse brushes, demonstrate that routine separately and keep the container stable. Watch whether it supports their work or asks them to manage too many steps at once.
An adult can handle brush washing later when that is the more practical arrangement. Independence grows through manageable responsibilities, rather than through giving children every cleanup task at the same time.
Decide where wet paintings will go
Make room in the drying area before the first painting is finished. Check that the available space fits the actual paper size and the number of children participating.
Put names on the backs of papers before painting when possible. Trying to identify a very wet painting at the end can lead to extra handling and smudges.
Explain who will carry finished work. Depending on the setup, children may place their work on a nearby tray, or an adult may move it while they clean their hands.
A drying plan prevents finished paintings from becoming a second activity on the classroom floor. It also lets a child finish without waiting at the table simply because nobody knows where their work belongs.
Make finishing part of the activity
Tell children what to do when they decide they are finished. The sequence might be putting the brush down, asking for help with the painting, removing the smock, and washing hands.
Show the next available classroom choice. A child who knows where to go afterward is less likely to wander around carrying a paintbrush while searching for something else to do.
Avoid sending several children to a crowded sink at once. Coordinate with the other teacher so that finishing the art activity fits the room’s usual supervision and handwashing routines.
Allow children enough time to work without making everyone stay until the last painter is done. A small group arrangement can make individual finishing times easier to handle.
Keep cleanup materials close to the adult
Have the program’s approved cleanup materials ready before you begin. Store cleaning products according to classroom rules and keep them away from children unless the product and task are approved for their use.
Handle spills promptly so that a little paint does not travel across the room on shoes. Keep adult attention on the whole group while addressing the immediate mess.
Children can help with appropriate parts of resetting the table, such as returning clean trays or gathering unused paper. Choose tasks they can actually complete with the support available.
The final cleaning should follow your program’s procedures and the directions for the materials used. A quick wipe during the activity does not necessarily replace the required cleaning afterward.
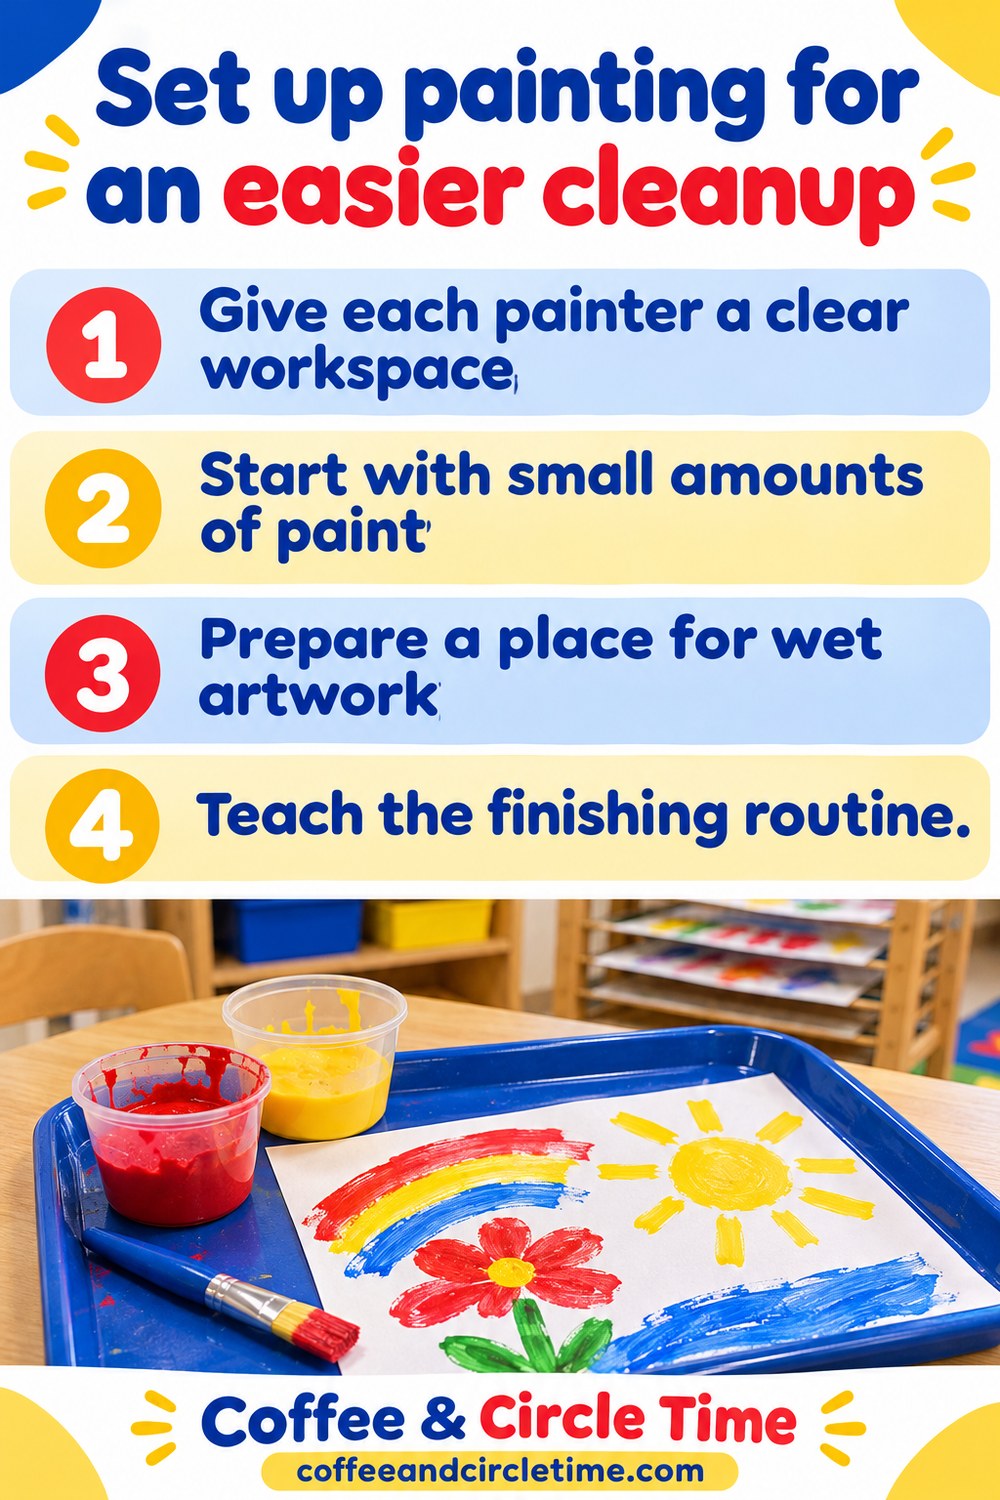
Adjust the next painting experience
After the activity, notice which part created the most work. Was there too much paint, nowhere for finished paper, or a confusing trip to the sink?
Change one part of the setup next time so you can tell whether it helps. You may need a smaller group, a nearer drying space, or fewer containers rather than a completely different activity.
Preschool painting will involve some mess, and that is manageable. The goal is a predictable setup that lets children explore and lets teachers support the activity without spending the entire time chasing spills.
Start with a clear workspace, small amounts of paint, and a simple finishing routine. Those choices give the experience a useful structure while leaving the painting itself open to the children.

Leave a Reply