
A useful preschool activity gives children something meaningful to explore, a manageable way to participate, and enough freedom to make choices. Start with your group’s interests, choose a few suitable materials, and plan how you will introduce, supervise, and finish the experience.
You do not need a brand new project for every day of the week. A familiar invitation with a small change can be easier to prepare and give children another chance to explore something they already enjoy.
Hi, I’m Ms. Jenn, a preschool teacher with 20 years of experience. I currently teach in a two year old classroom and share practical ideas from everyday teacher life here at Coffee and Circle Time.
This guide brings the activity side of the blog together. Use it to choose an idea, prepare the space, adapt the invitation, and find a more specific article when you need help with one part.
If planning ideas are scattered across your phone and scraps of paper, explore The Organized Teacher printable bundle. Its activity planning and preparation pages give your own ideas a place to land.
Start here: your quick plan
- Notice what your group is interested in.
- Choose one purpose and a few suitable materials.
- Plan how children can join in, finish, and clean up.
- Use the linked guides when one part needs extra support.
Jump to a section
- 1. Start with the children you have today
- 2. Choose the purpose before the supplies
- 3. Make space for both art exploration and simple crafts
- 4. Build a small collection of repeatable invitations
- 5. Prepare the beginning and the ending
- 6. Introduce the invitation in a few clear words
- 7. Adapt the invitation without separating children into ability groups
- 8. Respect sensory preferences and children’s choices
- 9. Plan for different finishing times
- 10. Use seasonal ideas as invitations, not deadlines
- 11. Reflect briefly and keep what helped
- 12. Your next activity can stay simple
PART 1 OF 4
Choose an activity that fits
1. Start with the children you have today
Before choosing a craft, notice what children return to during play. A group carrying toy animals around the room might enjoy building animal homes, painting animal tracks with suitable tools, or telling stories with large animal figures.
- Think about what the children can comfortably handle. Consider their interests, communication, movement, sensory preferences, and experience with the materials.
- A picture online cannot tell you whether an invitation will work for your particular group. Use it as a starting idea, then make decisions based on observation.
The NAEYC guidance on developmentally appropriate practice supports a strengths based approach that considers children and their individual contexts. For everyday planning, that means leaving room for different ways to participate.
2. Choose the purpose before the supplies
Write one simple sentence about the experience you want to offer. You might want children to explore making marks, choose materials for a collage, tell a pretend story, or compare what happens when they build with different blocks.
That sentence helps you edit the supply list. If the purpose is exploring paint marks, an elaborate background and several decorative extras may add preparation without adding much to the invitation.
You can plan intentionally without deciding exactly what every finished piece should look like.
Keep adult preparation proportional to what children will actually do. If the teacher completes most of the interesting steps, look for a way to hand more of the experience back to the children.
3. Make space for both art exploration and simple crafts
An open art invitation might offer paper, washable paint, and different tools. Children decide which marks to make, when to change colors, and whether to return to the page.
- A simple craft may have a recognizable purpose, such as making a card for someone. It can still include choices about color, placement, materials, and the message a child wants to share.
- Choose the format that fits the moment. Avoid presenting an adult sample as the only acceptable result.
For a fuller explanation of the distinction, see NAEYC’s introduction to process focused art. In your own room, a practical starting point is to offer materials and describe what you notice rather than fixing the result.
PART 2 OF 4
Make setup and participation easier
4. Build a small collection of repeatable invitations
Instead of collecting hundreds of projects, keep a few dependable starting points. Change one element at a time so preparation stays manageable.
Try these adaptable formats:
- Painting on large paper with chunky brushes or suitable textured tools.
- Collage with large paper pieces and a manageable amount of adhesive.
- Drawing beside an interesting object, book, or recent classroom experience.
- Construction with blocks, large cardboard pieces, and room to rebuild.
- Pretend play with familiar props and a simple invitation to make a story.
Select materials for the children using them, follow product age guidance, and supervise closely. Small loose parts and items that can break apart are not suitable for every group, especially children who mouth objects.
5. Prepare the beginning and the ending
Decide where supplies will sit, how many children can use the space, and what children can do when they finish. Set out only the materials you can comfortably manage.
Make cleanup supplies available to adults before starting. Check where wet work will dry and how children will wash their hands without creating a crowded waiting area.
For a practical setup walkthrough, read how to set up a painting activity without a huge mess. If wet or unfinished work is your recurring problem, use these ideas for storing unfinished art.
Preparation should support your supervision. Keep storage and cleanup tasks from pulling your attention away from children who still need help using the materials.
6. Introduce the invitation in a few clear words
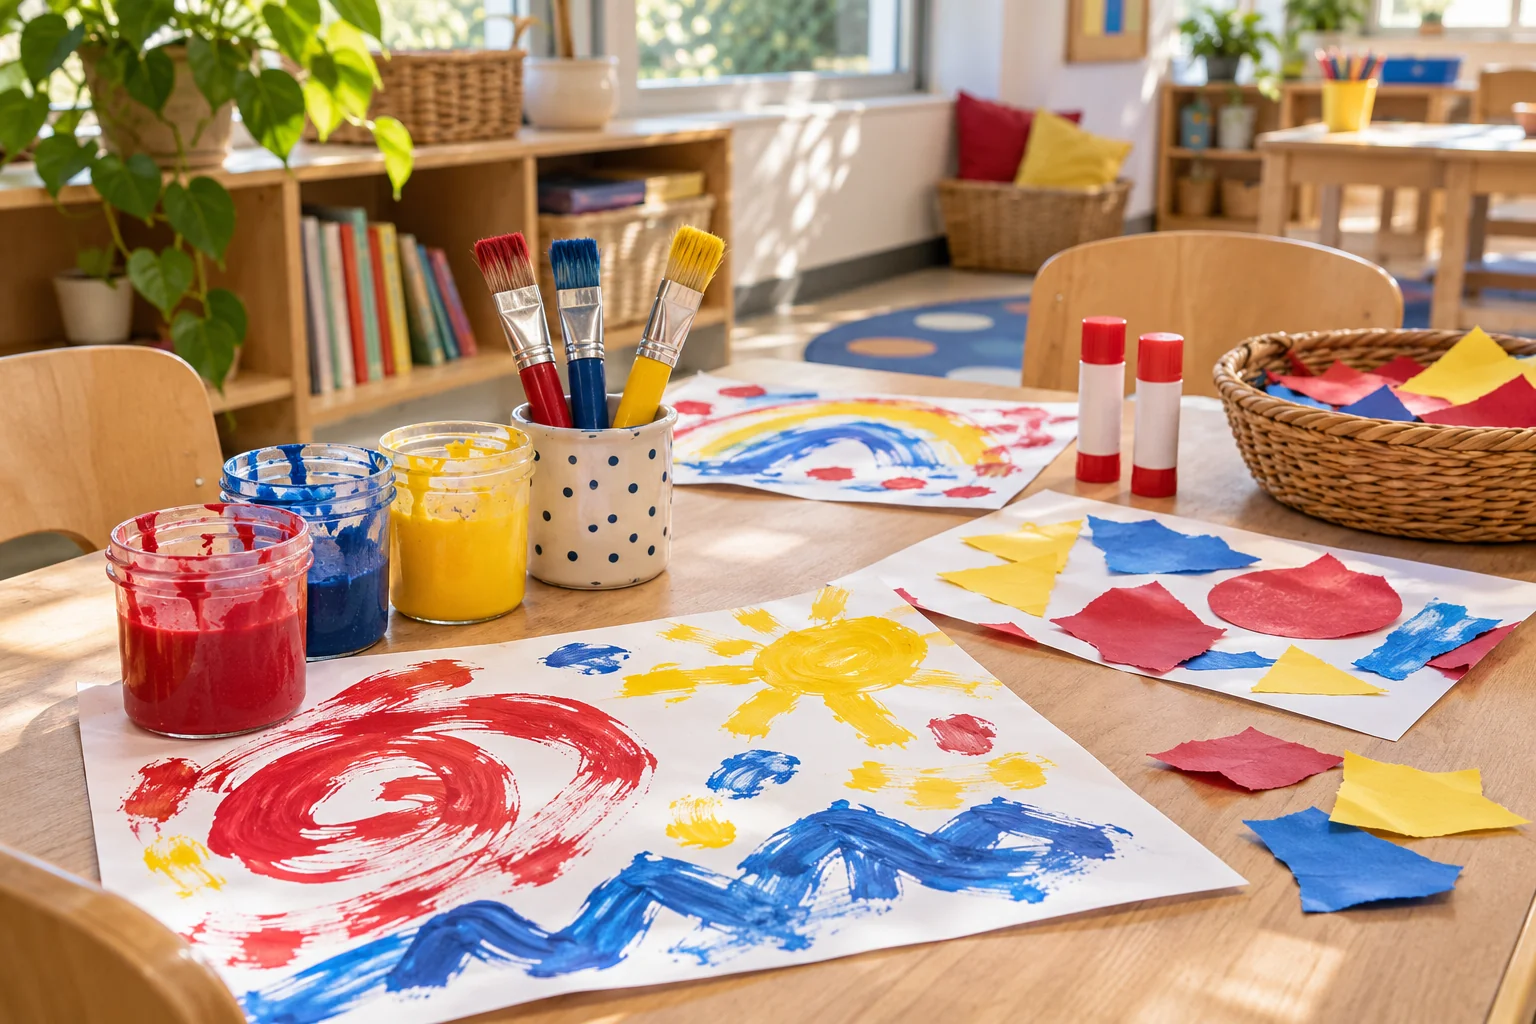
Show the essential action or safety step, then let children begin. “You can use these paper pieces to make a collage” may be enough to open the experience.
- When a tool is unfamiliar, demonstrate how to handle it safely without demonstrating a complete finished project. Give children time to watch and try.
- Avoid explaining every possible choice before anyone touches a material. You can add language as the experience unfolds.
If glue is the difficult part, see how to manage glue during a collage activity. A small adjustment to the setup may be more useful than repeating the same reminder throughout the activity.
PART 3 OF 4
Support different ways to join in
7. Adapt the invitation without separating children into ability groups
Offer different tools, larger materials, an easier starting action, or more room to work. A child might tear paper while another uses appropriate scissors with supervision.
Keep the shared invitation recognizable while allowing the amount of support to differ. Ask what makes participation accessible rather than what makes every result match.
You can find more examples in the guide to adapting one art activity for different skill levels. For a different starting point, try cutting invitations that do not depend on a worksheet.
Different levels of participation can belong in the same classroom experience.
8. Respect sensory preferences and children’s choices
Some children are curious about paint but do not want it on their hands. Offer a tool, a dry alternative nearby, or a chance to watch before deciding.
Do not make touching a particular texture the price of belonging to the group. Participation can grow from a comfortable starting point.
Read what to try when a child does not want to touch paint for more specific options. Keep adaptations responsive to the child rather than turning the invitation into a test of willingness.
If children ask you to make the project for them, offer a small next step or work alongside them on your own materials. This article about children asking adults to make their art explores that moment in more detail.
9. Plan for different finishing times
Some children will explore briefly and move on. Others may stay longer, pause, and return.
Have a familiar option available so finishing does not lead to an unnecessary wait. A nearby book basket or already open play area can make the ending feel ordinary.
For the child who seems done almost immediately, read how to offer art to children who finish in two minutes. For the group arrangement, see what children can do while others finish a craft.
A short visit is information about that child’s interest or the setup. It does not automatically mean you need a more complicated project.
PART 4 OF 4
Finish, reflect, and plan the next step
10. Use seasonal ideas as invitations, not deadlines
Seasonal crafts can be enjoyable, but they do not need to fill the whole month. Choose ideas that work with the materials, interests, and time your group already has.
For holiday planning, browse Christmas gifts preschoolers can help make, Christmas process art ideas, or Christmas movement activities. These collections link to the original creators for the full instructions.
Check the linked tutorial and your own setting’s requirements before using an idea. Adapt it when the materials or expectations are not a good match.
11. Reflect briefly and keep what helped
Afterward, write down what children chose, what needed more support, and one change worth trying next time. A sentence or two is enough.
Save the useful detail rather than only a photo of the finished work. “Put the drying tray closer to the table” will help you more next time than “cute painting idea.”
When you display work, focus on children’s choices and exploration. See ways to display art without comparing children’s work for a thoughtful next step.
12. Your next activity can stay simple
Choose one invitation, gather a manageable set of materials, and decide how children can begin and finish. Leave yourself room to respond to the group.
For help putting the plan on paper, visit the Coffee and Circle Time teacher printables page. Start with one planning page and use the related guides above whenever a specific classroom question comes up.
Keep exploring the Activities and Crafts articles for focused answers to everyday classroom questions.

Leave a Reply